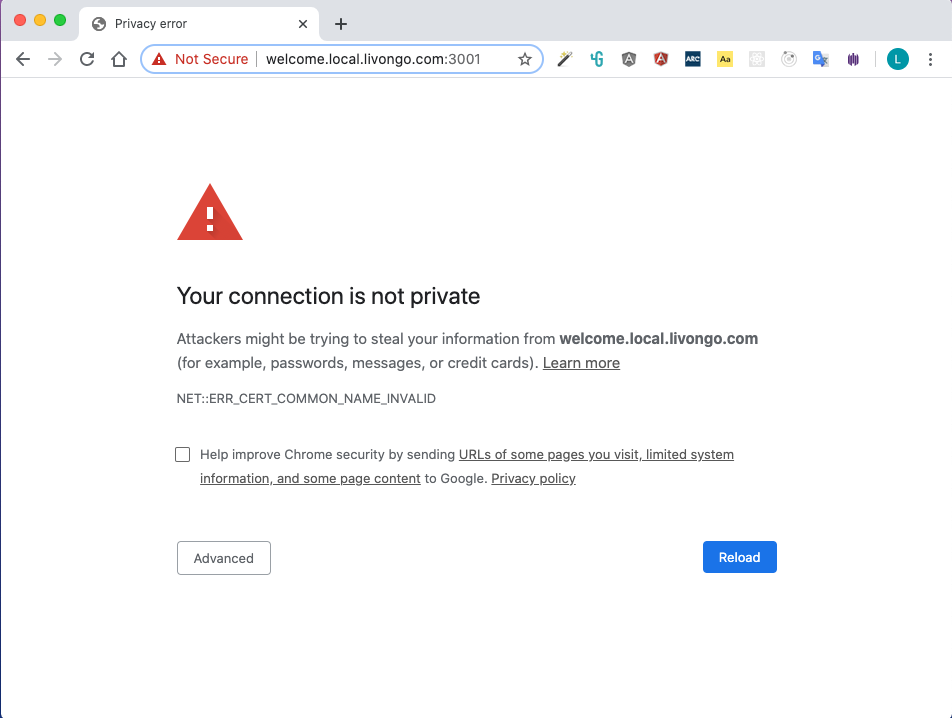
At Livongo, our frontend (FE) web developers build web-based experiences so that our members can join our programs and track their progress. One of the challenges of our FE development process is to deal with SSL certificates. Our Angular stack is set up to run in https only. We will run into certificate errors if we open a page of our app to test at the beginning, shown in below screenshot. To overcome this issue, we have to add exceptions for our site in the browser by clicking the Advanced button then following the instructions. And we have to do this not only for the domain to which our site points, but also for all the other domains which our site refers to. For example, our welcome site refers to cdn_p1, p2…05 and many others. We have dozens of subdomains and the list is still growing, with more than 20 CDN subdomains now. You can imagine how tedious it is to accept all the certs. It is also not a one-time job and it has to be repeated every time after the exceptions expire.
We can solve this problem by ordering real certificates or non-commercial ones from an open certificate authority for our development environment. However, it will bring extra cost or security concerns. So why don’t we create our own SSL certificate?
There are many posts online to demonstrate how to create a test certificate. But the basic steps for us are as below.
- Install openssl if openssl not installed on the computer yet.
$ brew install openssl - Create server.pass.key file.
$ openssl genrsa -des3 -passout pass:x -out server.pass.key 2048 - Create server.key file based on the server.pass.key file created in the last step.
$ openssl rsa -passin pass:x -in server.pass.key -out server.key - Remove server.pass.key file for cleanup.
$ rm server.pass.key - Create the Certificate Signing Request based on the server.key file generated in the last step. The command below will ask information to identify the request in interaction mode, such as email address. The most important field is the Common Name. For our case it will be local.livongo.com.
$ openssl req -new -key server.key -out server.csr - Create v3.ext file for removing Chrome browser secure error.
$ cat v3.ext
Sample content of our v3.ext shown below.authorityKeyIdentifier=keyid,issuer
basicConstraints=CA:FALSE
keyUsage = digitalSignature, nonRepudiation, keyEncipherment, dataEncipherment
subjectAltName = @alt_names
[alt_names]
DNS.1 = localhost
DNS.1 = *.local.livongo.com - Create the SSL certificate based on the server.csr and v3.ext files created in the last 2 steps.
$ openssl x509 -req -sha256 -extfile v3.ext -days 365 -in server.csr -signkey server.key -out server.crt - Remove server.csr file for cleanup.
$ rm server.csr - Remove v3.ext file for cleanup.
$ rm v3.ext - export pem format from keychain
Once we have the SSL certificate, we can follow these steps to install it on our machine and make it trusted by everyone.
- Open keychains on our computer
- Add our certificates to the system either by selecting the context menu “Add Keychain” from System or just dragging and dropping our SSL certificate to the system folder.
- Open the detail information window of our certificate and expand the Trust list, then set “When using this certificate” to “Always Trust”.
By now, if you closed the browser and opened the app again, you will not see the alert anymore.
This also can apply to our React development stack.
By default, the app runs in http mode. You need to modify the devServer section within webpack.config.json shown below, and copy the certificate files to the specified location.
public: 'welcome.local.livongo.com:3008',
host: 'welcome.local.livongo.com',
https: true,
key: fs.readFileSync('ssl/server.key'),
cert: fs.readFileSync('ssl/server.crt'),
ca: fs.readFileSync('ssl/server.pem'),
Please note the instructions listed here are only for Mac environments.
For more detailed explanation, please refer to https://ksearch.wordpress.com/2017/08/22/generate-and-import-a-self-signed-ssl-certificate-on-mac-osx-sierra/ and other articles online.